If you have been considering converting your office to paperless charts, this is a great time to take the leap. Technology has advanced rapidly in recent years with cloud-based backup systems and massive amounts of storage capabilities, alleviating the concern of what might happen if the system goes down. Trusting that the technology won’t lose any information is no longer a concern.
There are many other advantages to converting your office to a chartless environment, and here are the top ten:
1. Secure your records against the event of fire, flood, or theft. Electronic records are safe even if a catastrophic event should occur. When you have a properly backed up system, you can retrieve all your patient files on your laptop.
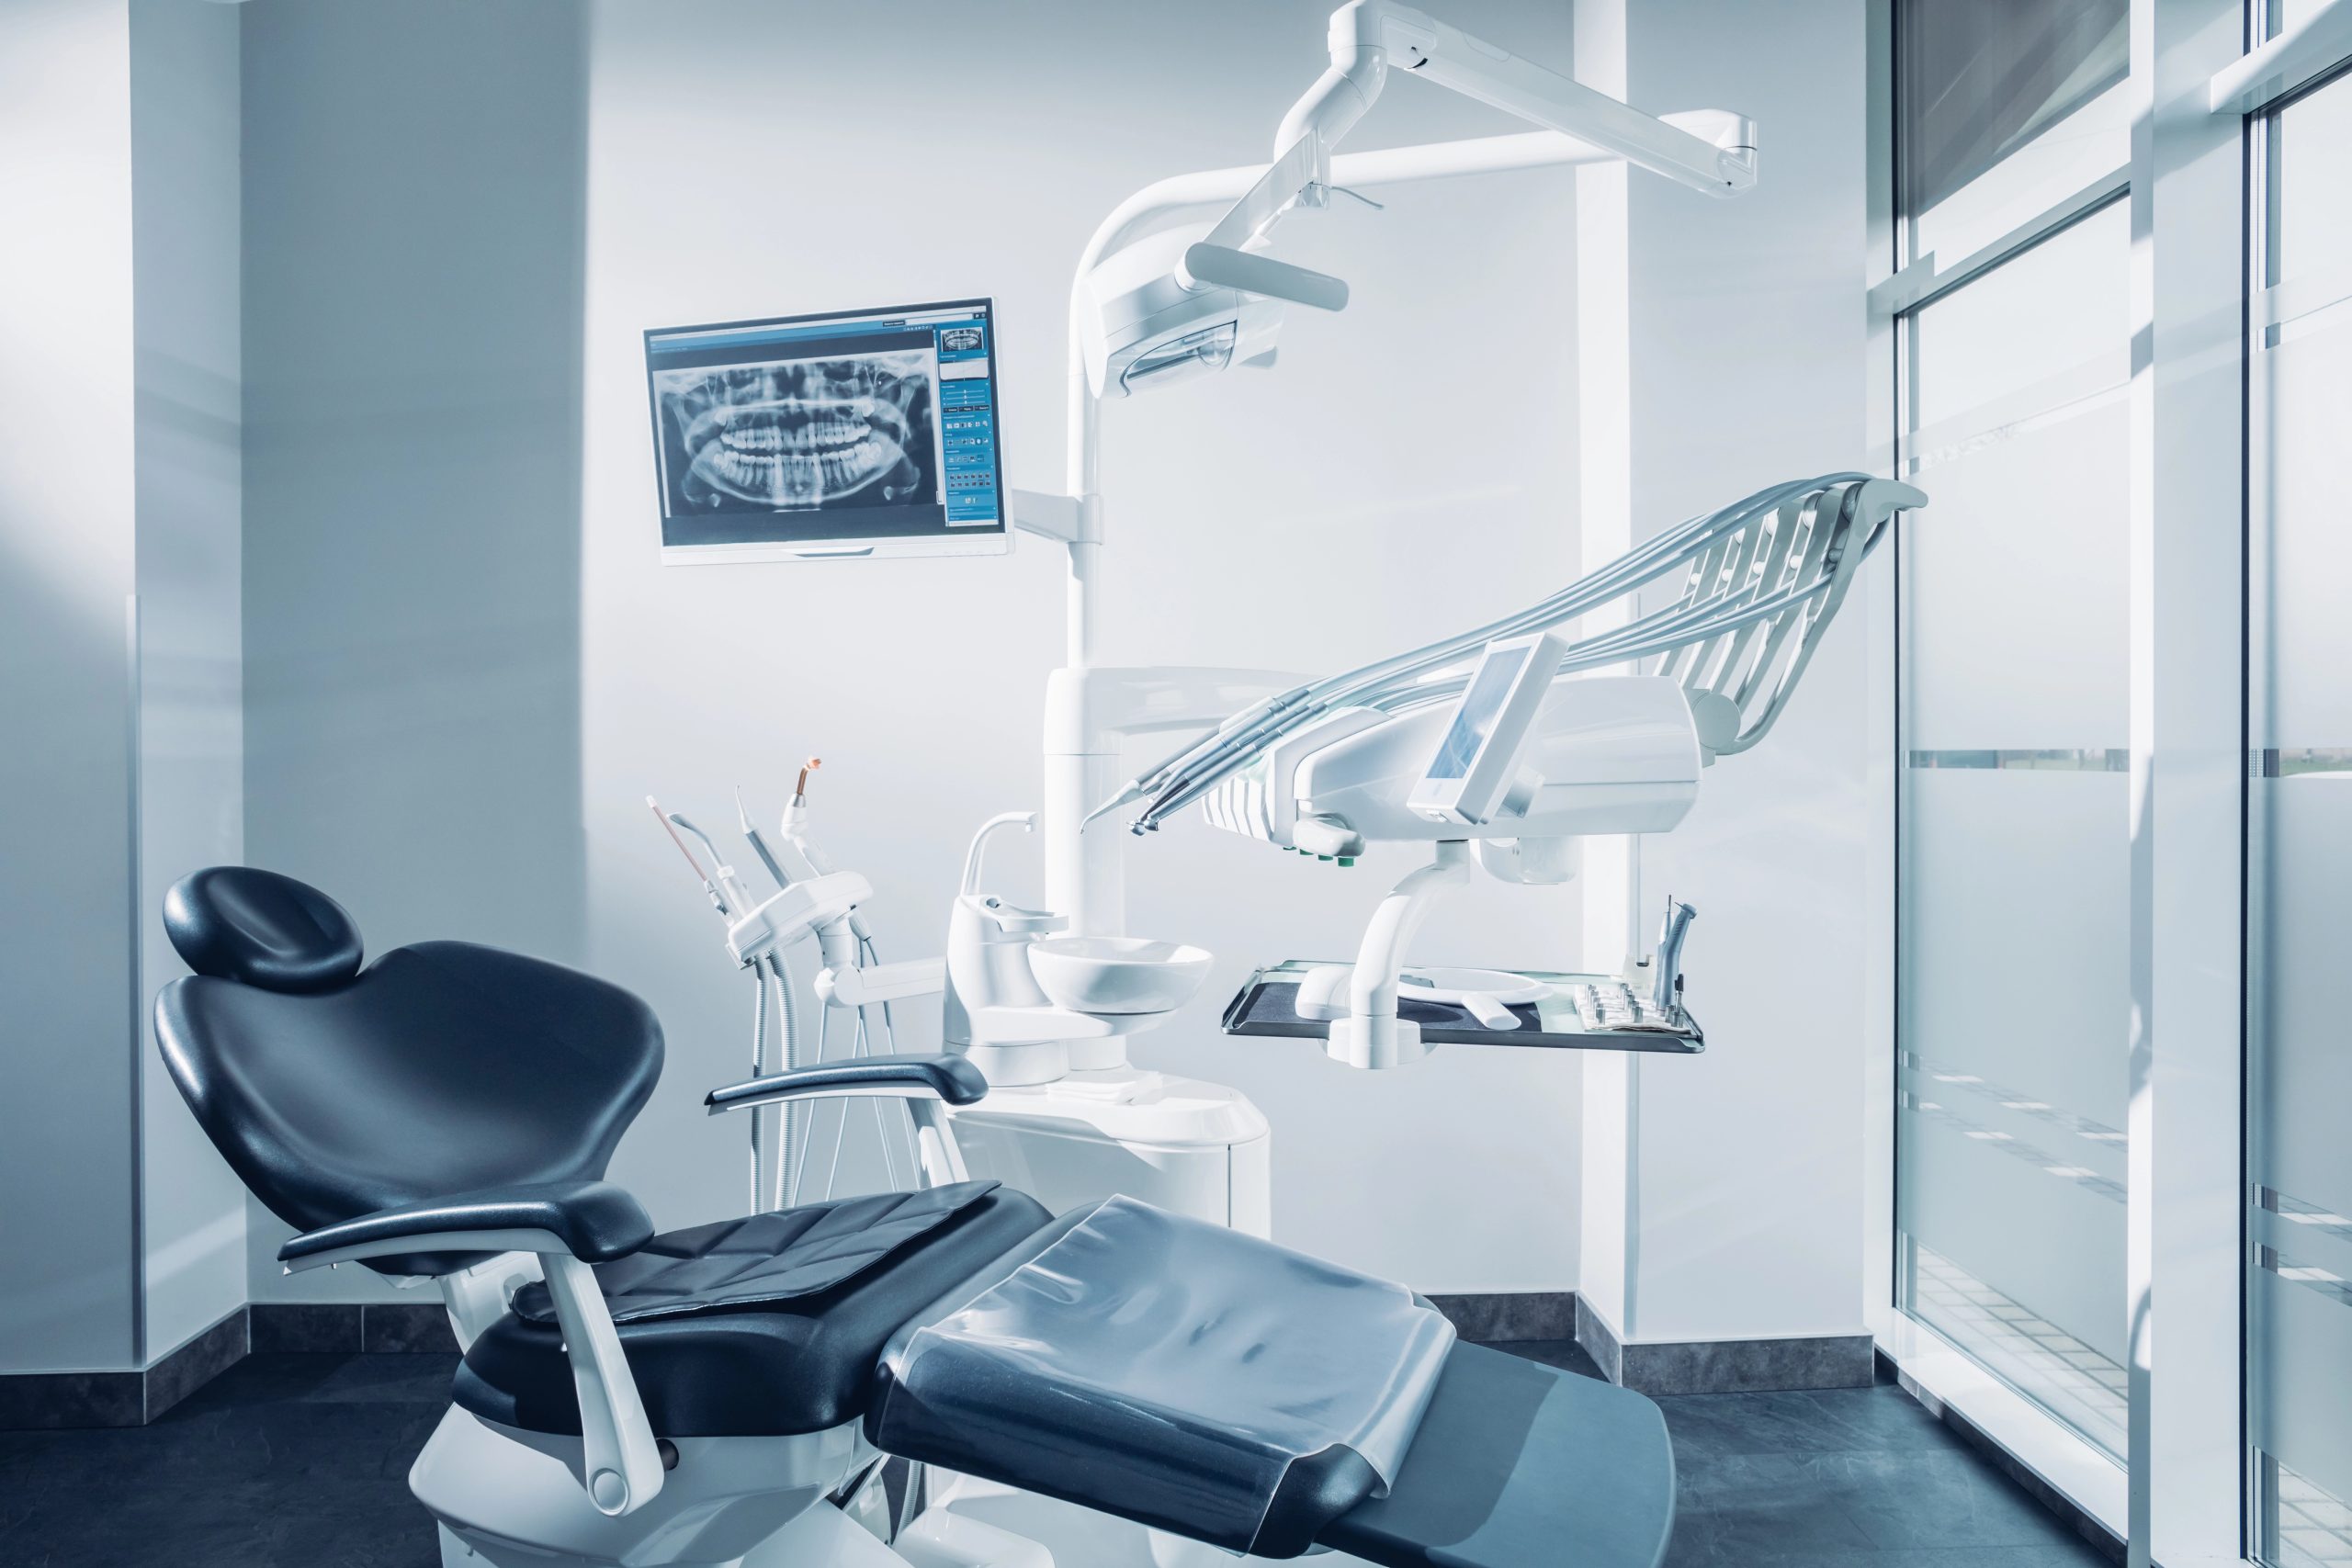
2. Infection Prevention and Control (IPAC). This is a hot topic in health care offices because it is mandatory to comply with Public Health standards of practice. Think about how many times the paper chart has been touched, with and without gloves. The paper chart is also exposed to airborne viruses, making it difficult, if not impossible, to sanitize the chart every time you look at it.
3. Remote access. You can access the records instantly and automatically update them when you make a chart entry. You don’t have to worry about misplacing a chart or carrying around charts. If you see a patient offsite, for example, in a nursing home setting or at a referring dental office, you can access the patient’s chart and update it directly from your laptop.
4. COVID-19 screening. This screening will be with all businesses for some time to come and may quite possibly be a permanent process in health care offices. Using an electronic system makes the COVID-19 screening process efficient, and it will retain the record permanently for contact tracing.
5. Storage space. This is one of the best advantages of having a chartless office. You can eliminate all of the bulky cabinets and have a streamlined and efficient front office.
6. Increased efficiency and continuity of care. Save time filing charts and retrieving charts on a daily basis. In a chartless office, you can access the information you need instantly. Your denture patients will also appreciate you making their next appointment for them while they are in your chair. Continuity of care shows your patients that you care about their health, and it is good for repeat business.
7. Never lose or misplace a chart. This will save time filing and retrieving charts, but most importantly, you will always have instant access to the patient’s record, including their medical history. The clinical chart is a legal record of the patient’s treatment. The treatment record can be produced quickly and instantly if needed for a legal proceeding.
8. Update the medical history at every visit. You will only see some of your patients once per year, so it is very important to update the medical history at every visit. This is true especially for seniors due to their changing medical needs and medications.
9. Track insurance submissions. Using an electronic system, you can track what benefits the patient has and submit insurance claims electronically.
10. Communication with your patients by email or text. Your system can send out emails and text messages to your patients automatically. There are a number of excellent automatic recall systems that will integrate with the software you are using.
Now that you know why you should convert your practice to a chartless environment, here are five easy steps to demonstrate how easily the conversion can be done.
Step 1: Purchase a high-speed scanner, like Scan Snap (available at Staples, Business Depot, or Best Buy), and begin to purge the charts. The advantage of purging the charts is that it provides an opportunity to inactivate patients who will not be returning and set up a continuing care system for active patients. A continuing-care system would involve recalling the patients to your practice for an annual check-up to see how well the denture fits, clean the denture, and ensure that the gums are in good condition. It’s also great to see if the patient is experiencing any dental problems that might require a referral.
As new patients come to the practice, check that all documents are scanned in and that the patient demographic and insurance information is entered correctly. Enter a continuing care date (i.e. one year from today) and preschedule the appointment. It is also very helpful if you wish to track your referral sources and send thank you emails or follow-up information to the referral source.
Step 2: Once you have identified the ‘inactive’ charts, prepare them for offsite storage. An ‘inactive’ chart could be a patient you have not seen at your clinic in over ten years and is not likely to return to your practice. The legal requirement for retaining records is ten years. However, some practitioners will retain their records indefinitely. Transfer the records to a secure storage unit or safe, dry location that will provide you with easy access if necessary. It is also very helpful to keep the charts in alphabetical order for ease of retrieval if necessary.
Step 3: Scan all paper documents and x-rays. Most dental offices use digital X-rays, but if you have older conventional X-rays, you can easily digitalize them by placing them on an illumination light board and taking a picture. Then, save and store the picture in the patient’s electronic record.
Step 4: Create a folder on your laptop called ‘patient scanned charts.’ Depending on the computer system you are using, some systems will enable you to scan the chart directly into the patient record, but many will not. In that case, this step is an interim measure to keep the information secure until it can be integrated into the patient’s record, usually in a section called documents.
Within the patient scanned charts’ folder on your desktop, select ‘new folder’ and name that folder with the patient’s name. You will end up with one folder that contains many other folders within it that are labeled with the patient names.
Step 5: Open the scanner and select ‘scan to folder.’ Take the patient’s chart apart and start scanning. Do approximately 5-10 pages at a time to avoid jamming.
When all the chart documents are scanned in, they will be stored in Scan Snap home or whatever scanner you are using. The icon should be on the bottom of your screen. Copy all of the documents that you just scanned in.
Look on the desktop for the ‘patient scanned charts’ folder. Open the folder and look for the folder that has the patient’s name. Open that folder and click on ‘select folder.’ At this point, the patient’s documents should be stored in that file. Double-check that they are in the file and nothing is missing.
File the old charts that you have scanned in banker’s boxes in alphabetical order. You can choose to keep them onsite until you are satisfied that everything is on the computer and you no longer have to refer to the old charts. If the system is set up well and you have a good backup system, the concern over losing information will fade and become a distant memory.
Summary
The advantages of moving to a paperless office exceed the traditional ways of treating patients using paper-based charts. It’s time to take the leap of faith and trust in the technology to make your practice more streamlined and efficient. Converting your practice to a chartless environment will improve the quality of your professional life and provide you with more time and space to treat your patients.
SANDIE BAILLARGEON, DENTAL OFFICE CONSULTING SERVICES